
Photometric fundamentals
How Mounting Height Changes a Lighting Layout
Increasing mounting height usually spreads light over a larger area and can improve overlap, but it also increases the distance to the calculation surface and often lowers peak illuminance. Lower mounting can raise intensity beneath a fixture but may create tighter bright areas, more visible contrast and different glare conditions. Recalculate whenever mounting height changes.
Updated: August 6, 2026
Mounting height is a system input
Mounting height is the vertical position of the luminaire relative to a stated reference, often finished floor or grade. The photometric result depends on the distance from the luminaire to the calculation plane, so workplane height matters too. A fixture mounted 25 feet above floor and calculated at a 2.5-foot workplane has a different working distance than a floor-level calculation.
Height does not act alone. The luminaire distribution, output, tilt, spacing, room reflectances and obstructions determine how the final pattern changes.
Why illuminance generally drops with distance
For a point source in open space, illuminance decreases approximately with the square of distance. Real luminaires are not perfect point sources, and rooms add reflected light, but the relationship explains why a modest increase in mounting distance can materially change values on the calculation plane.
Do not apply the inverse-square relationship as a replacement for a photometric calculation. It is a useful intuition, while the actual IES distribution and modeled geometry determine the layout result.
Higher mounting: wider reach, lower peaks
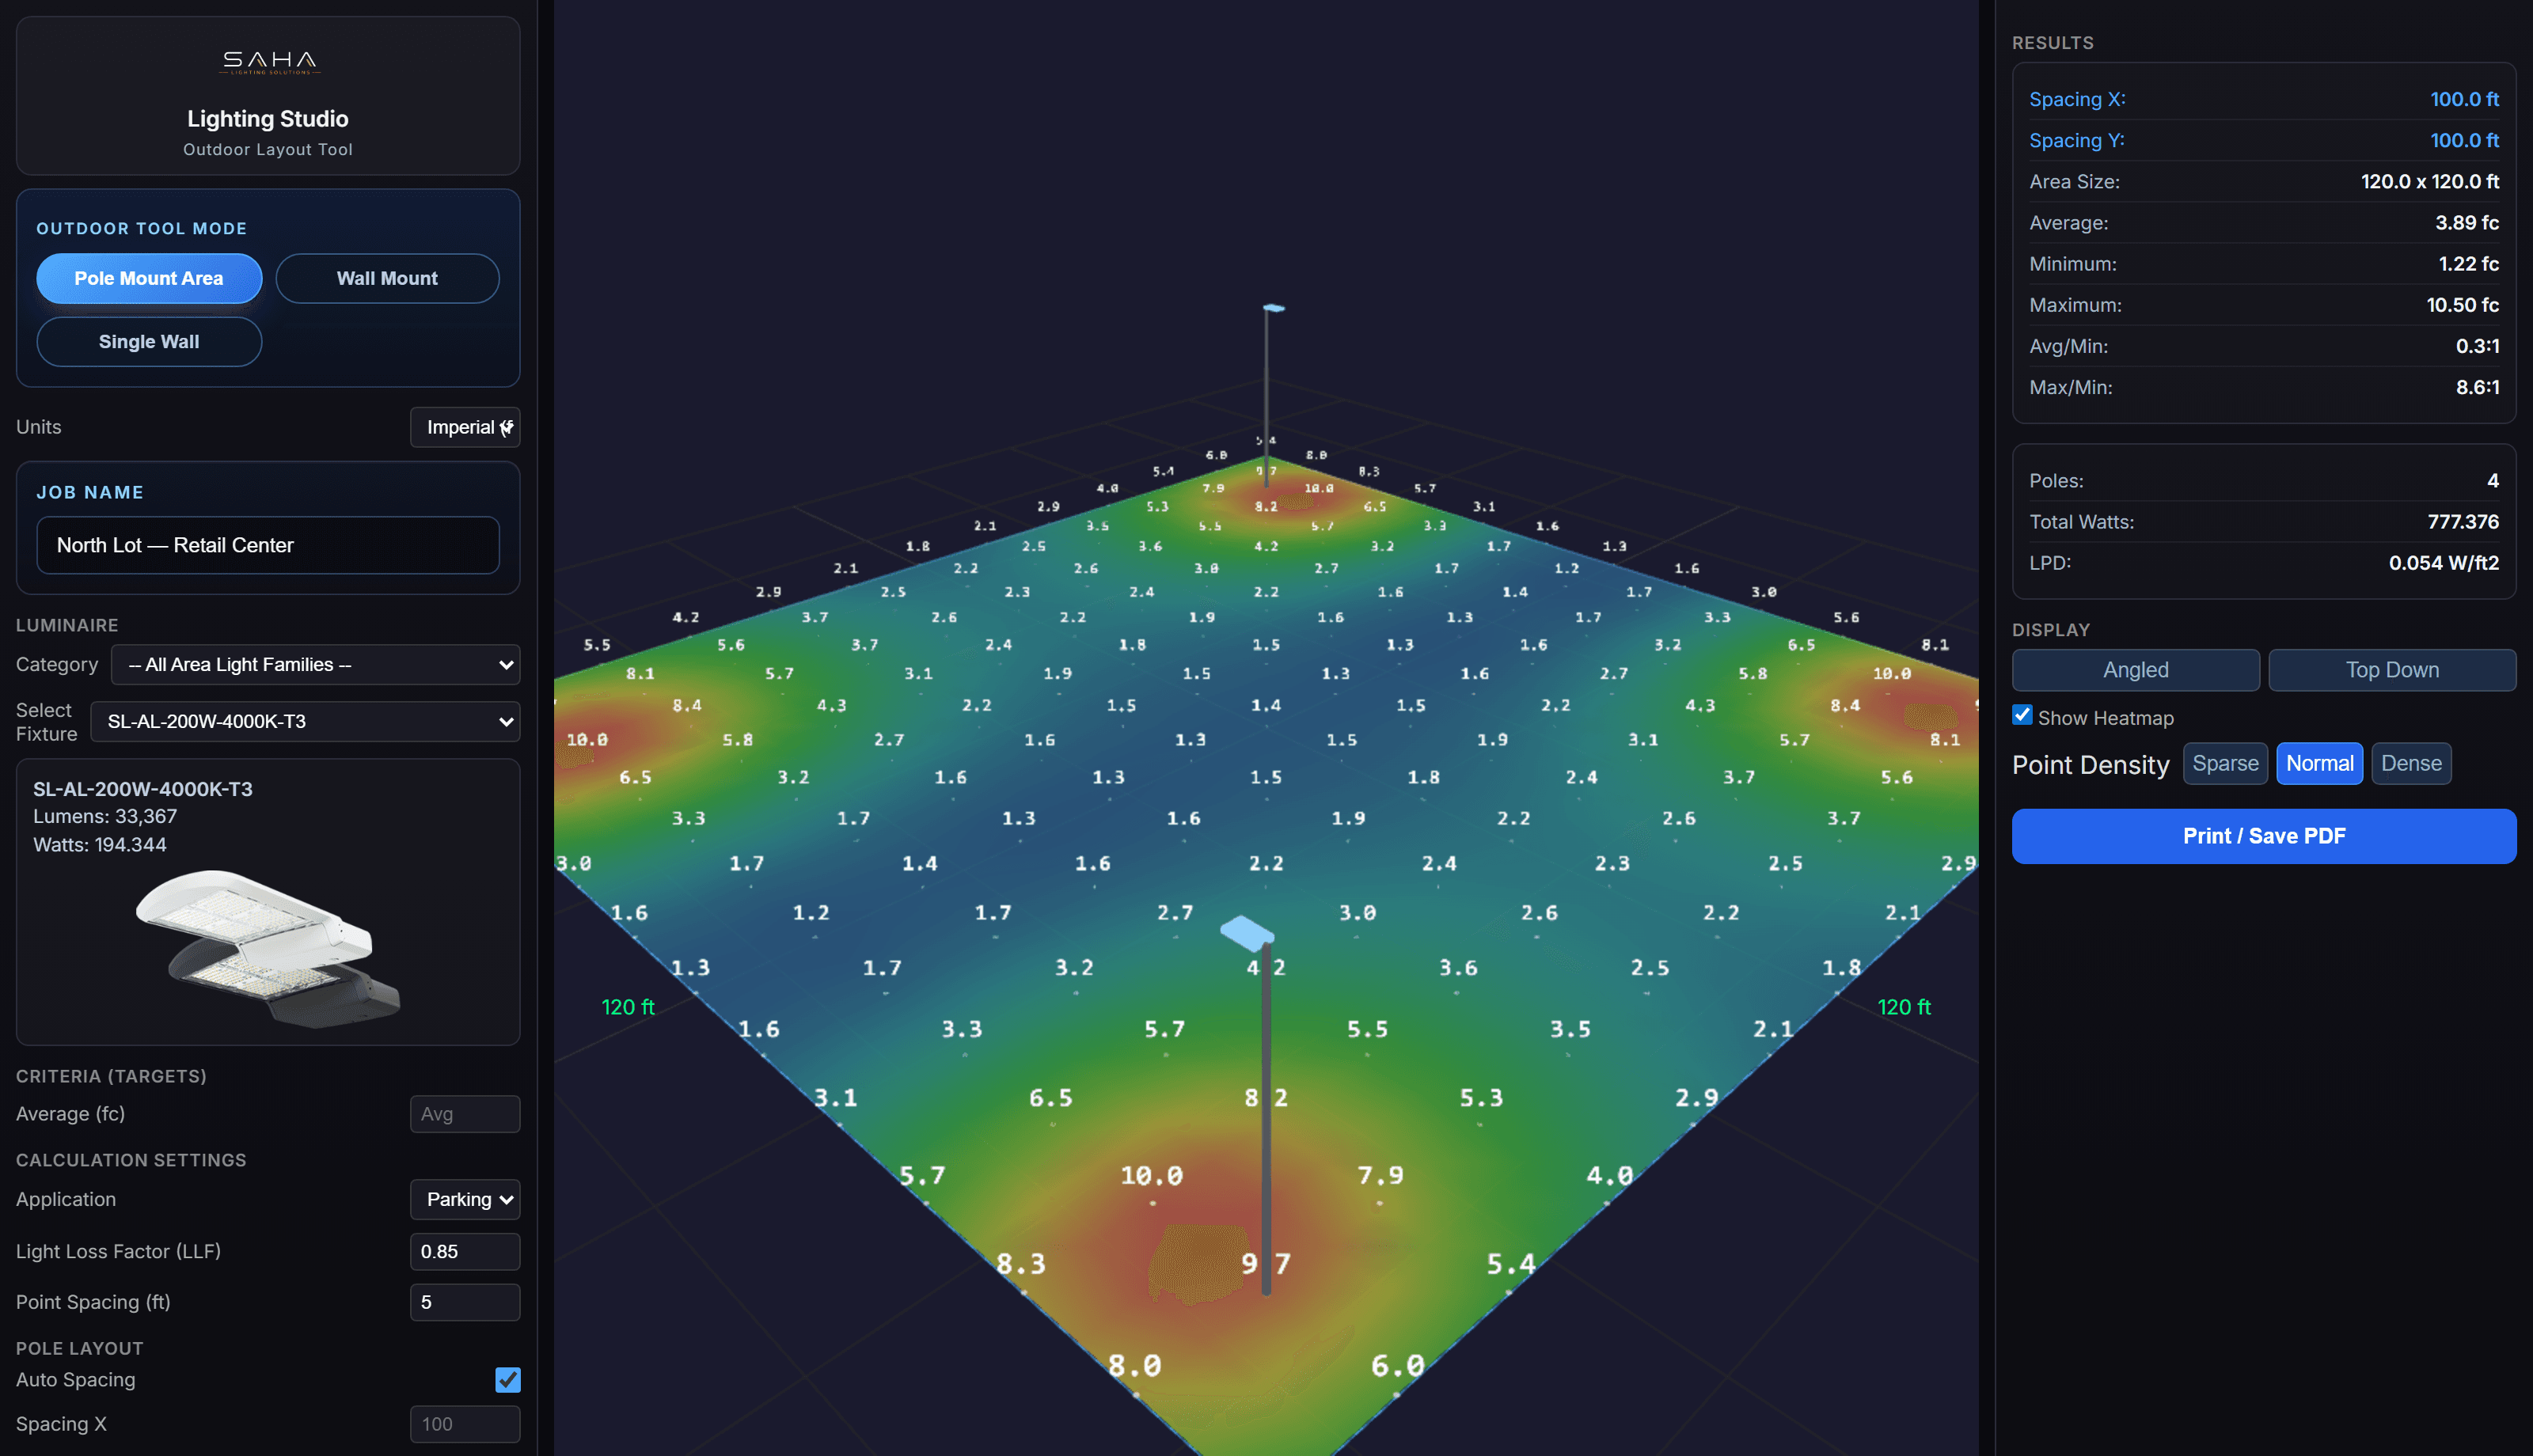
Raising a luminaire can widen the footprint and increase overlap between adjacent fixtures. That can smooth some transitions and improve uniformity in an open space. At the same time, the greater distance commonly reduces the illuminance directly beneath and between fixtures unless output, optics or spacing changes.
In a warehouse, a higher high-bay layout may need a different optic or lumen package. In a parking lot, taller poles can extend coverage but also change boundary values, glare exposure and aiming considerations.
Lower mounting: stronger local light, tighter spacing
Lower mounting often concentrates more light near each luminaire. The result may have higher local values but less reach, requiring closer spacing to cover the same area. Bright-to-dark transitions can become more pronounced when fixture spacing is too wide for the lower height and selected optic.
Lower mounting can also place the luminous aperture closer to normal lines of sight. Glare cannot be judged from a footcandle average alone, so review the fixture, viewing conditions and appropriate glare criteria.
A controlled comparison method
To understand height in a real project, duplicate the layout and change only the mounting height first. Keep the fixture, output, optic, aiming, room dimensions, grid and reflectances unchanged. Compare average, minimum, maximum, uniformity, boundary values and the spatial pattern. Then optimize spacing or fixture selection in a separate iteration.
- 1.Record the baseline mounting height and calculation-plane height.
- 2.Calculate and save the baseline result.
- 3.Duplicate the model and change only mounting height.
- 4.Compare point-by-point values and heatmaps using the same scale where possible.
- 5.After observing the height effect, adjust spacing, optics or output as a new option.
Example: a warehouse high-bay option
Suppose a high-bay layout is modeled at 24 feet and then moved to 30 feet without changing fixtures or spacing. The higher option may show broader individual patterns but lower values at the workplane. If the original layout was already near the minimum target, the higher option may no longer comply with the project criteria. If the original layout had severe hot spots, the additional overlap may improve distribution while still requiring a different output or spacing.
The correct response is to recalculate and inspect the complete point-by-point result, not to assume that higher or lower is always better.
What to verify before changing height
- Whether the stated height is above floor, grade or the calculation plane
- Whether the selected fixture has an optic suitable for that height and spacing
- Structural mounting limits and actual field conditions
- Obstructions, racks, poles, setbacks and aiming limitations
- Project targets for minimums, averages, uniformity, glare and boundaries
- Whether a qualified reviewer must approve the final design
Frequently asked questions
Does mounting a light higher make it brighter?
Not at the calculation surface by itself. Greater distance usually reduces illuminance, although the wider footprint and overlap can change uniformity. Recalculate the actual fixture and layout.
Does a higher mounting height allow wider fixture spacing?
Sometimes, but not automatically. The fixture distribution, output, target values, glare and required uniformity determine acceptable spacing.
Should mounting height be measured to the fixture or ceiling?
Use the luminaire reference required by the calculation workflow and document it clearly. Ceiling height and luminaire mounting height are not always the same.
Can Lighting Studio compare mounting heights?
Yes. Users can change mounting-height inputs and recalculate supported preliminary layouts to compare the resulting coverage and point values.
Related
Compare mounting-height options
Use Lighting Studio to model the same fixture and space at different heights, then compare the complete point-by-point result.